
Achieving precise engraving and cutting relies heavily on a properly leveled laser bed; this foundational step ensures consistent results and prevents material warping during operation․
Understanding the Importance of a Level Laser Bed
A level laser bed is absolutely critical for successful laser engraving and cutting․ Uneven surfaces lead to inconsistent focal depths across the material, resulting in partially engraved designs or cuts that don’t penetrate fully․ This impacts the quality and precision of your projects significantly․ Maintaining a flat surface ensures uniform power distribution, maximizing engraving depth and cutting efficiency․
Furthermore, a properly leveled bed prevents material warping, especially with thinner or more flexible materials․ This is vital for achieving clean, professional-looking results․ Precision is paramount in any home improvement or tinkering project, and a level bed is the cornerstone of accurate laser operation, preventing frustrating failures and wasted materials․
Tools and Materials Required for Setup
Essential tools for laser bed leveling include a high-quality spirit level – ensuring accuracy is key․ Adjustment knobs, commonly found on many laser engravers, are crucial for fine-tuning bed height․ A measuring tape or ruler is needed to verify distances and ensure consistent spacing․ Depending on the bed material, shims may be required to address minor height discrepancies․
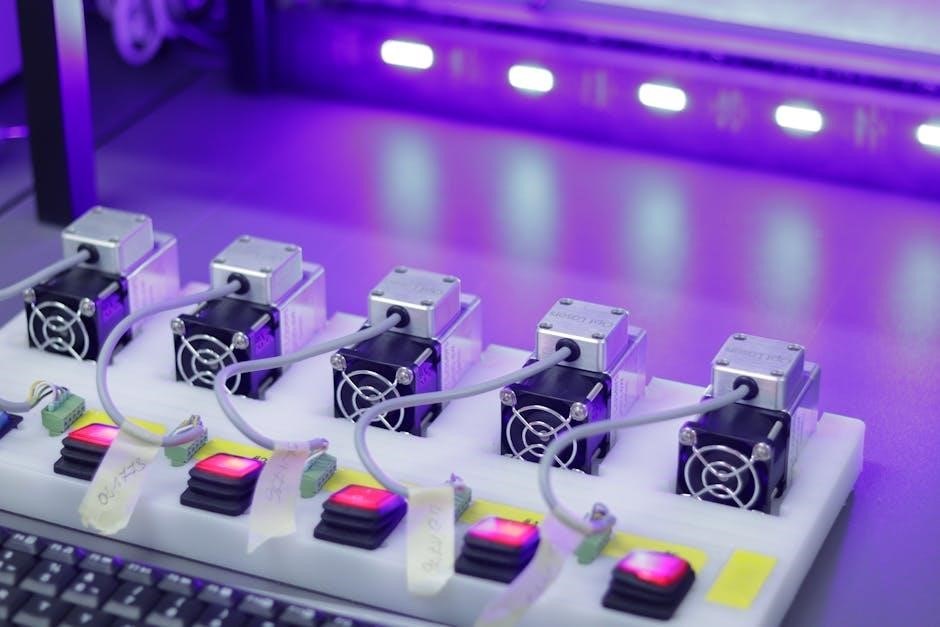
For motorized bed upgrades, you’ll need a suitable motorization kit, including motors, belts, and potentially a controller board․ Basic hand tools like screwdrivers, Allen wrenches, and potentially a drill are also necessary․ Safety glasses are always required when working around laser equipment, and a clean workspace is highly recommended․

Preparing Your Laser Engraver
Before beginning, thoroughly inspect your laser engraver, ensuring all components are securely fastened and the work area is clear for optimal setup․
Safety Precautions Before Starting
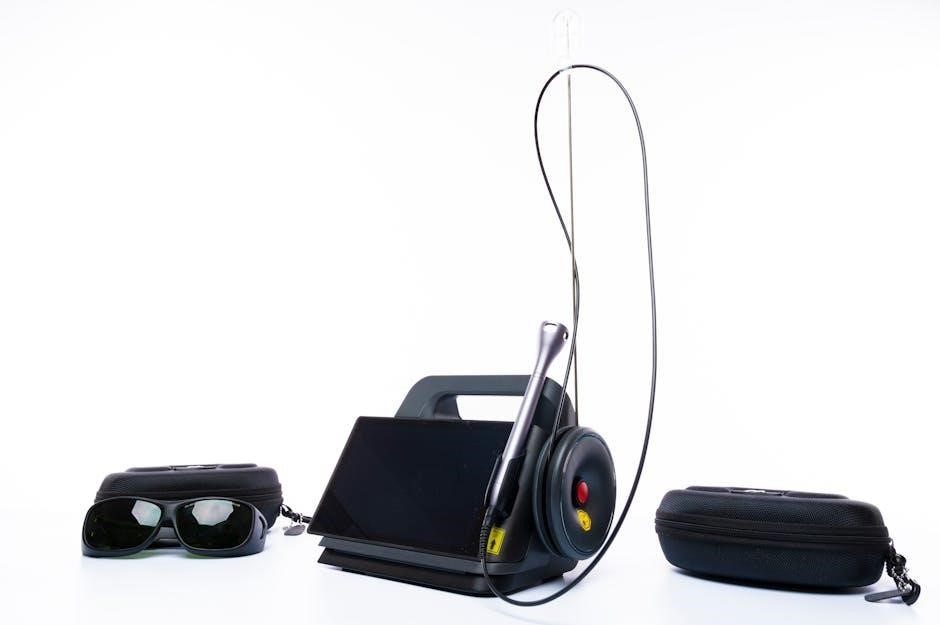
Prioritize safety when preparing your laser engraver for bed leveling․ Always wear appropriate laser safety glasses, specifically rated for the laser module’s class (Class 2)․ Disconnect the laser engraver from the power source before making any mechanical adjustments or inspections․ Ensure the work area is well-ventilated to prevent the buildup of fumes released during operation․ Be mindful of the IP54 waterproof/dustproof rating, but avoid direct water exposure during setup․ Familiarize yourself with emergency stop procedures and keep a fire extinguisher nearby․ Never leave the laser unattended during operation or setup․ Proper preparation minimizes risks and ensures a safe working environment․
Inspecting the Existing Laser Bed
Begin by thoroughly examining the current state of your laser bed․ Look for any signs of damage, such as warping, cracks, or uneven surfaces․ Check the stability of the bed supports and ensure they are securely fastened․ Assess the material of the bed – some K40 laser cutters have beds needing upgrades․ Verify that the bed’s surface is clean and free of debris, which can interfere with leveling accuracy․ Note any existing adjustment mechanisms, like knobs, and their range of motion․ A detailed inspection reveals potential issues before leveling, saving time and ensuring optimal performance․
Leveling the Laser Bed – Manual Adjustment
Manual leveling involves using tools like spirit levels and adjustment knobs to meticulously correct bed height and ensure a perfectly flat engraving surface․
Using a Leveling Tool (Spirit Level)
To begin manual leveling, place a spirit level across the laser bed in multiple directions – lengthwise, widthwise, and diagonally․ Carefully observe the bubble within the level; if it isn’t centered, the bed is uneven․ Note which areas are higher or lower․ Repeat this process several times to confirm your observations and identify consistent discrepancies․
Precision is key; small adjustments can make a significant difference․ Use shims or adjustable feet (if equipped) to compensate for any detected imbalances․ Regularly re-check with the spirit level after each adjustment to monitor progress․ A properly leveled bed, verified with a spirit level, is crucial for optimal engraving quality and consistent results․
Adjusting Bed Height with Adjustment Knobs
Many laser engravers feature adjustment knobs located beneath the bed corners․ These knobs allow for precise height adjustments, crucial for achieving optimal focus and consistent engraving depth․ Rotate the knobs incrementally, observing the bed’s movement․ Adjust each corner systematically, aiming for a level and stable surface․
Regularly check the bed’s levelness with a spirit level after each adjustment․ Small, gradual changes are preferable to large, abrupt ones․ Ensure all knobs are tightened securely once the desired height and levelness are achieved, preventing unwanted shifting during operation․ Proper adjustment ensures consistent results across the entire engraving area․
Fine-Tuning for Optimal Leveling
After initial adjustments, fine-tuning is essential for truly optimal leveling․ Perform test engravings on various bed locations, observing the depth and clarity․ Slight variations indicate areas needing further attention․ Use thin shims under adjustment points for minute height corrections if knobs offer insufficient precision․
Consider material thickness variations; a perfectly level bed for one material might not be ideal for another․ Regularly re-check leveling, as vibrations during use can cause subtle shifts․ Consistent testing and minor adjustments will yield the most accurate and repeatable engraving results, maximizing your laser’s potential․

Motorized Laser Bed Upgrades
Motorized beds offer automated leveling, enhancing precision and convenience, particularly for K40 laser cutters, with readily available resources for DIY implementation and improved workflow․
Benefits of a Motorized Bed
Implementing a motorized laser bed significantly streamlines the engraving process, offering substantial advantages over manual adjustments․ Automated leveling eliminates the tedious and often inaccurate process of manually adjusting bed height, ensuring consistent focal depth across the entire work area․ This leads to uniformly engraved or cut results, minimizing material waste and rework․
Furthermore, motorized beds facilitate remote control and integration with software like Klipper, enabling automated bed leveling routines and precise Z-axis control․ This is particularly beneficial for 3D printing applications on laser engravers, where a perfectly level bed is crucial for successful adhesion and layer consistency․ The increased precision and efficiency translate to higher-quality outputs and a more enjoyable user experience, saving valuable time and effort․
K40 Laser Cutter Motorized Bed Resources
For K40 laser cutter enthusiasts seeking to upgrade to a motorized bed, numerous online resources provide guidance and support․ Many DIY projects detail the construction of custom motorized beds using readily available components like stepper motors and linear rails․ Online forums and communities dedicated to laser engraving are invaluable sources of information, offering build logs, troubleshooting tips, and software configurations․
Specifically, searching for “K40 motorized bed” will yield a wealth of tutorials and discussions․ These resources often include detailed instructions, parts lists, and software integration guides․ Several creators have documented their builds extensively, providing a clear pathway for others to follow, ultimately enhancing the capabilities of their K40 laser cutter․

Self-Leveling Laser Technology
Modern laser levels utilize internal mechanisms to automatically compensate for uneven surfaces, maintaining accuracy within specifications like -1․5mm/5m, ensuring optimal leveling․
How Self-Leveling Systems Work
Self-leveling laser systems employ a pendulum and electronic sensors to detect and correct for tilts in the laser module’s orientation․ The pendulum, suspended within the device, naturally seeks a vertical position due to gravity․ Simultaneously, sensors monitor the laser’s angle and transmit data to a micro-controller․
This controller then activates small motors that subtly adjust the laser’s position, counteracting any detected incline or decline․ Systems typically have a self-leveling range – for example, 3 degrees – within which they can automatically correct․ Beyond this range, the laser may indicate an error, requiring manual adjustment․ Rotary laser levels often self-level only horizontally, while others offer both horizontal and vertical compensation․
Accuracy Specifications (e․g․, -1․5mm / 5m)
Laser level accuracy is typically expressed as a deviation per unit of distance, such as ±1․5mm at 5 meters․ This means the laser line could be up to 1․5 millimeters off the true level over a 5-meter span․ Higher-end systems boast improved accuracy, like 0․3mm per meter, offering finer precision for demanding applications․
Understanding these specifications is crucial for selecting a suitable system․ For general hobbyist use, a slightly lower accuracy might suffice, while professional applications demand tighter tolerances․ Factors like temperature and vibrations can also influence actual accuracy, so consider the operating environment․

Laser Safety Considerations
Prioritize safety by understanding your laser module’s class (typically Class 2) and the IP54 rating, indicating dust and water resistance for reliable operation․
Laser Module Safety Level (Class 2)
Understanding the safety classification of your laser module is paramount for responsible operation․ Most hobbyist laser engravers utilize Class 2 laser modules, emitting visible light with a power output of less than 1 milliwatt․ While generally considered safe due to the blink reflex, direct and prolonged exposure to the laser beam should be avoided․
The IEC/EN60825-1/2014 standard defines Class 2 lasers, emphasizing the natural aversion response․ However, wearing appropriate laser safety glasses specifically designed for the laser’s wavelength is always recommended as a precautionary measure, especially during extended use or when working with reflective materials․ Never bypass or disable safety features, and ensure the laser enclosure is properly sealed to prevent accidental exposure․
Understanding IP54 Waterproof/Dustproof Rating
The IP54 rating signifies a level of protection against dust and water ingress, crucial for maintaining the longevity and reliability of your laser engraver․ “IP” stands for Ingress Protection, followed by two digits indicating the degree of protection․ The first digit, 5, denotes dust protection – dust-tight, preventing harmful deposits that could affect performance․
The second digit, 4, indicates protection against splashing water from any direction․ While not fully waterproof, an IP54 rating means the device can withstand incidental water splashes․ However, direct water jets or submersion should be avoided․ This rating is particularly important in workshop environments where airborne particles and accidental spills are common, ensuring consistent operation and preventing damage to sensitive components․

Calibration and Testing
Post-leveling, accurately finding the laser line intersection point and performing 180° rotation checks are vital for verifying alignment and ensuring engraving precision․
Finding the Laser Line Intersection Point
After the auto-leveling process is complete, a crucial step involves pinpointing where the laser line intersects a wall․ Position the laser instrument and carefully observe where the emitted beam strikes a vertical surface – ideally, a wall designated for this purpose․ Mark this precise intersection point; label it as ‘A’ for future reference․ This initial marking establishes a foundational point for verifying the instrument’s accuracy․
Subsequently, rotate the instrument a full 180 degrees․ Observe the new intersection point on the wall․ The laser should ideally intersect at the same location, confirming the instrument’s leveling accuracy․ Any significant deviation indicates a need for recalibration or further adjustments to the laser bed․ Consistent intersection points are key to reliable engraving;
Rotating the Instrument for 180° Checks
To validate the accuracy of the self-leveling system, a 180-degree rotation test is essential․ After the instrument has completed its auto-leveling cycle, carefully rotate it precisely 180 degrees on its base․ Observe the laser line’s new position on the designated wall or surface․ A properly leveled instrument will project the laser line back to the original intersection point, confirming its stability․
Any noticeable shift in the laser line’s position after rotation indicates potential issues with the leveling mechanism․ This could stem from an uneven surface, internal malfunctions, or interference․ Repeat the rotation test several times to ensure consistent results and identify any inconsistencies requiring attention before proceeding with laser operations․

Troubleshooting Common Issues
Uneven engraving often signals bed leveling problems, while self-leveling system malfunctions require inspection of the instrument’s internal components and operational environment․
Addressing Uneven Engraving Results
If your laser engravings appear inconsistent in depth or clarity across the material surface, the laser bed’s level is the primary suspect․ Begin by re-checking the bed’s level using a spirit level, ensuring it’s calibrated correctly․ Carefully inspect each adjustment knob, verifying they are securely tightened and providing even support․
Consider the material thickness; variations can exacerbate leveling issues․ For motorized beds, confirm smooth operation and proper sensor functionality․ If utilizing a self-leveling system, observe its operation – a slow or erratic self-leveling process indicates potential problems․ Remember to always prioritize safety and power down the laser before making adjustments․
Dealing with Self-Leveling System Malfunctions
When a self-leveling system fails, initial troubleshooting involves verifying power connections to the system and checking for any visible damage to sensors or actuators․ Observe the leveling process; a failure to stabilize within three seconds, as noted in some specifications, signals an issue․
Inspect the system’s calibration settings within the laser’s control software․ A recalibration might be necessary․ If the problem persists, consult the manufacturer’s documentation for specific error codes or diagnostic procedures․ Remember that rotary laser levels self-level only horizontally, so ensure proper orientation․ Consider professional repair if the issue remains unresolved․

Advanced Techniques & Klipper Integration
Klipper firmware offers enhanced bed leveling capabilities, optimizing laser performance and significantly reducing print failures, particularly beneficial for 3D printing applications․
Utilizing Klipper for Bed Leveling
Klipper’s advanced bed leveling features surpass traditional methods, offering a dynamic and highly accurate solution for laser engravers․ Integrating Klipper involves installing the firmware on a compatible board, like a Raspberry Pi, and configuring it to communicate with your laser’s control board․ This allows for probing multiple points across the laser bed, creating a mesh that compensates for imperfections․
Unlike manual adjustments or basic auto-leveling, Klipper utilizes a sophisticated algorithm to map the bed’s surface and dynamically adjust the laser’s Z-axis during operation․ This ensures consistent focus across the entire work area, leading to superior engraving and cutting quality․ Resources and guides are readily available online to assist with Klipper setup and configuration for various laser models, including the popular K40․
Optimizing for 3D Printing Applications
A perfectly leveled bed is paramount for successful 3D printing, preventing adhesion issues and ensuring consistent layer heights․ When utilizing a laser engraver for 3D printing, Klipper’s bed leveling capabilities become even more crucial․ The mesh created by Klipper compensates for even minor bed irregularities, guaranteeing the first layer adheres properly․
Print failures are often linked to an uneven build surface, and Klipper significantly reduces this risk․ Optimizing settings within Klipper, such as probe point density and Z-hop height, further refines the leveling process․ This meticulous approach translates to higher print success rates and improved overall print quality, making your laser engraver a versatile fabrication tool․